Showing posts with label glass. Show all posts

Wednesday, February 11, 2015

More Glass

A few recent bits and pieces.

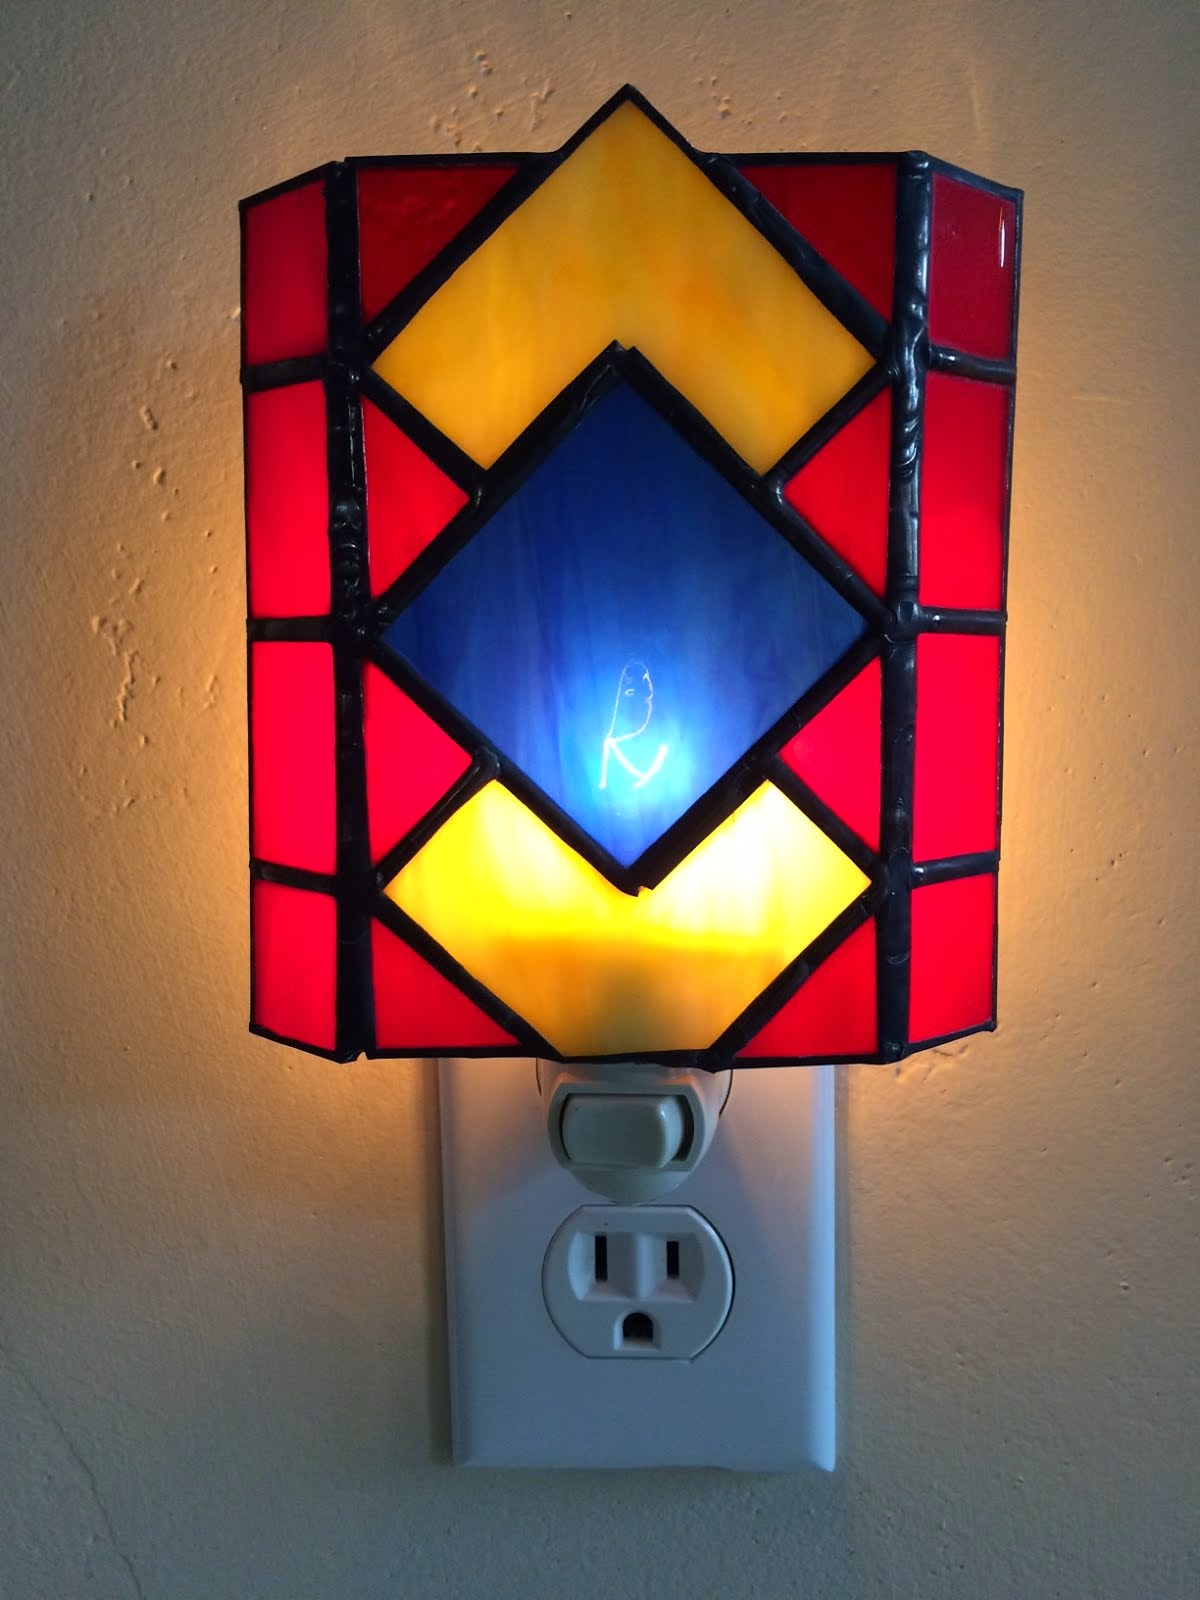
I made a night light, because it was getting gloomy towards the end of last year.


This was a Secret Santa present for a Star Wars fan :-)


A quick extra present for a friend of ours.


I made this for the nice people at Independence Brewing.


And then I made this night light to test to see if I can make interesting shadows. It basically works but needs more refinement. Anyway, I now have another shiny light, so there's that.


Onwards...

Tuesday, November 11, 2014

Glass update

Time for a glass update. I haven't made a whole lot recently but I haven't been entirely idle, either.


These first two I cannot claim any credit for originality on, they are straight out of the 'Waste Not!' ebook from fusedglassbooks.com. But they were useful learning exercises and ways in which to use up some scrap.

I took my ring saw to the edge of the blue one and then fire polished it, to try and make it more uniform. It could have done with a visit to the grinder first as well, and probably a higher polish temperature, but you live and learn.


This one is the first piece I have made with actual lead since I did my original class way back when. I had to go and have a refresher session with Bob at Blue Moon just to get my head around how to cut the lead.


I made this one for an aviation friend of mine.


And here we have one made for the owners of this Fokker Triplane.

Tuesday, February 18, 2014

Fan Lamp 2

I thought I'd make another fan lamp, but this time do it in fused glass. Here's some shots of how it was made and how it turned out.


A layer of petals, and a center.


Second layer of petals and some supports.


Inner petals.


Center in place, and frit added over the top for texture and interest. The white stuff is glue.


The final piece! Red glass is really hard to photograph with an iPhone, but there's a lot of visual interest going on here, especially when it's lit.

Monday, February 10, 2014

Fan Lamp

I didn't know fan lamps were a thing until a neighbor introduced me to them. She is moving soon and I bought a load of art glass from her. In the pile was this lamp kit. Once I found out what to do with it, I had to make one!


I went with an Indian-inspired design on this. Laid it out in Illustrator (as I do with all my glass designs) and here we are. It has a 25W bulb behind it, which is plenty enough.


Tuesday, January 29, 2013

An Assortment of Glassworks

Here's a roundup of things I have made recently.


First up, I made a squadron of sixteen little P-51 Mustangs, for a gathering of aviation photography friends.


Then I made a balloon; this one is about seven or eight inches tall. I gave this to the balloon club as a door prize; I think Ronda won it.


I made these four little 3" tall balloons for window or Christmas tree hanging. I later made five more and gave them as gifts.


This was my first proper attempt at pattern bar designing. You make square bars and slice them up, then lay them out and fuse it together. The fusing part worked fine, but unfortunately it cracked while slumping. You can see the wavy line across the right hand side.


This little blue dish was the first pattern bar experiment. I deliberately slumped it off-centered; it ended up all wonky anyway so I built on that...


This one I made for friend Diane, who likes purple.


This is probably the best pattern bar result, unfortunately I put a flaw in here without realising. I will pay more attention to my construction next time. This annoys me.


Alan wanted something to give to his friend Marla, so I made this little window hanger.


This one was for Doug and Carla. I don't know why the green glass ended up with the dark lines at the edges. Just the way glass reacts, I guess.


Friend Terri also likes purple, so she got this one. The stars are dichroic transfer decals but unfortunately a lot of the points bent over during fusing. Perhaps I waited too long before firing the piece and they dried out too much.


Marla apparently really loves glass, so Alan gave her this square dish, too. It is difficult to photograph the shape of these bowls, it is more elegantly shaped in real life than it looks here. The square mould I have has a nice gentle curve to it.


Finally, here's a bunch of them together. The little green bowl on the left did not slump very well; it has a very round bottom. I keep a marble in there now for extra randomness. The black and purple dish with the square middle is another slicing experiment; I made a casting which I didn't like, so I cut it into strips and reassembled them sideways, to get the pattern you see here.

Friday, September 28, 2012

Random Assortment

I have been making random things.... I made this orange Jeep, for reasons that will become clear in time:


I thought I'd use up some scrap and make a 60s-style square thing. It has a couple of aluminium flower inclusions in there, too. I will probably slump this into a dish but I'm not sure how to deal with the blue edge that has squidged out a bit. Cold working may be required here before I do anything else.


I made one of these stained glass flowers a while ago, for a friend. Took friggin' ages to grind out all the wavy edges on the petals. So I thought I'd try one again now I have a ring saw. I can report it makes life a lot easier! It's still a pig to copper-foil though; some of the smaller-radius curves have some judicious snips in the foil...


Here's the lizard after slumping into a dish, just because I can.


Finally, here's a Techno Flower that I made for Alan. It is the same construction as the purple version a few posts back, fused at the same temperature (1430F). However this one has ended up a lot less textured, due to the fact that black glass is a lot softer than other colours, so it spreads out more easily. You can see it in the more rounded points of the lower petals, whereas the iridescent glass has held its shape better.


I also fused the middle of this dish separately beforehand at 1490F; I wasn't sure if the controlled lines of bubbles would form at the lower temperature. I put a little test piece into the kiln when I fused the main piece and the bubbles formed just fine at 1430F.


Tuesday, September 18, 2012

Inclusion Experiments

Time to start playing with metal, I think! Here are some test pieces ready and waiting in the kiln, to be fired. They are various pieces of aluminium inserted between layers of clear glass. I've also been having a go at bending glass stringers over a candle flame, so the yellow lines are the results of that. (Verdict: They bend! And break really easily!)


This piece shows each type of aluminium I'm trying out. There is a piece of mesh in the centre, flanked left and right by strips cut from a drink can. The top and bottom are strips of kitchen foil. Let us see what happens after fusing. This was sent to 1490F as usual, but annealed for an hour instead of 45 minutes.


After firing, what do we get? Bubbles! And lots of them. They are slightly gold-tinged which is curious. The mesh produced loads of them. I put a steel washer into the O of 'Jo' which is rendered invisible behind the bubbles.


The star at the top is made of five separate points of foil, overlaid on top of each other. The ends are almost invisible, while the centre has bubbled considerably. Single layers of foil seem to go almost transparent. An interesting effect. The very silvery coloured little stars are on the outside of that piece; they seem to have sunk into the glass and stayed metal coloured.


Here's the same piece again. You can see the original mesh through the middle of that giant bubble. The left and right are just Bubble City, while the foil top and bottom is transparent again.


Here's a close up of the mesh lettering. Some of these bubbles look regular. I am wondering if they might be less chaotic if I fired these at a lower temperature. Aluminium melts at 1221F which is much lower than 1490F, although I'd still need to fuse around 1350-1400 in order to sufficiently join the glass together. More experimentation could be in order, here.


Pattern Bars

The reason behind buying a ring saw is so that I can cut strips of glass. This involves the making of pattern bars. Here you can see some 4"x0.75" pieces laid up in between sheets of fibre paper. I thought I'd try some horizontally and some vertically. The one on the far left has lengths of stringer inside, for variety.


Here's the finished assembly in the kiln, with fire brick offcuts around the sides to hold it all in place. I took this up to 1500F, held it for 15 minutes, then annealed it for 2.5 hours (30 minutes per 1/8 thickness of glass).


This is how they looked on removal from the kiln. You can see that the top edges have pulled upwards against the fibre paper a little bit; they have sharp stringy edges that needed grinding off. Also, the vertical stacks seem to have worked better; their glass has retained a more uniform shape. The top layer on each of the horizontal stacks has sunk into the layer below. I guess I could put a sheet of clear glass on top to counter this if I do more horizontal ones, which I would probably do if I wanted to make real patterns in these bars.


You and I will both have to wait until I take delivery of a slicing blade and guide attachment for the ring saw, before I can slice these up and have a proper look at them. The parts are on order... Watch this space!

Monday, September 17, 2012

The Ring Saw

Alan treated me to a ring saw, yay! He is a star :-) It is an omnidirectional saw with a tube shaped blade, so you can cut glass into any shape, in any direction. It is pretty awesome.


I tried cutting a bit of random glass, then I made a blob, and then I tried this lizard which was drawn in the back of the ring saw manual. This saw is pretty easy to use; this is literally the third piece I cut. It is sitting on a piece ready for fusing.


Here's the same piece after fusing. I took it to a full fuse; really I should have tack fused it to retain more shape, but I had other stuff in the kiln that wanted a hotter temperature so here we are; little blobby fat lizard, but a lizard nonetheless.


Kiln Goodies 2

A few more bowls. This first one is 5" in diameter. I wanted to make some flowers. I made some pretty deep cuts in the side of this one; look at the shadows and you can see them.


This one was fused at 1450F if memory serves (yes, Fusing 101 says you should write everything down and I didn't, like an idiot) rather than the usual 1490F. I didn't want it to go into the usual flat sheet. It did indeed retain some of the shape of the petals, allowing some texture to remain. It was also slumped on a shallower mould than the others.


This one is 6" diameter, with two spirals, the top one overlaid in the opposite direction to the bottom one. I used some transparency and clear glass so that you can see the whole pattern. I learnt a fair bit about cutting deep inside curves from this one.

Kiln Goodies 1

It's been a while since I posted any glass stuff, so here's a few of the last few items I have made...


This was a test piece to see what would happen if I piled three layers of glass into the middle, with some frit to add texture.


This was a piece with modern curves... kind of trying to channel some of the Wip3out racing series design while in my friend's colors... more work required here I think, although the piece turned out well enough.


Here is where I discovered the delights of dichroic glass :-) Dichroic glass is extra shiny, allowing both the transmission and reflection of light, which means it turns all kinds of colours. It's also insanely expensive, so you only use a tiny bit at a time. You can buy dichroic glass in sheets, or buy transfer paper which has only the coating on, which you then transfer to the glass with water, like a decal on a plastic model. Transfer paper is just paper, so you can also cut it with hole/craft punches, which is how I cut these planes, stars, flowers etc.


So I made a second example of the pattern as above, with dark colours. There's also some iridescent glass in the centre just for some extra shininess :-)


This is a semi-transparent blue star inlaid into black. Five points cut from one piece of blue and joined together again; it turned out pretty well, you could see the join lines but they were not obtrusive.